Initial Setup
This page covers the first-time administrative setup immediately after installation. The goal is to move from a reachable server to a minimally usable system that operators can safely work with.
Setup Goal
At the end of initial setup, you should have:
- a working admin login
- an active license
- at least one additional user if needed
- project defaults reviewed
- initial players, screens, and display topology configured
- a basic schedule validation path through preview
Step 1: First Login
Open the SVRunner web application at the installed server address.
Typical URLs:
- local:
http://localhost:7376 - network:
http://<server-address>:7376
If using a container deployment or custom port, use the deployment-specific port instead.
Confirm that:
- the app loads
- the login screen is reachable
- the docs route also loads successfully
Step 2: Activate Or Verify Licensing
Before full admin use, confirm the active license state.
Depending on the deployment, this may involve:
- applying a new license
- confirming an existing active license
- checking expiration or grace-period information
Do not continue as if the system is fully commissioned until license state is confirmed.
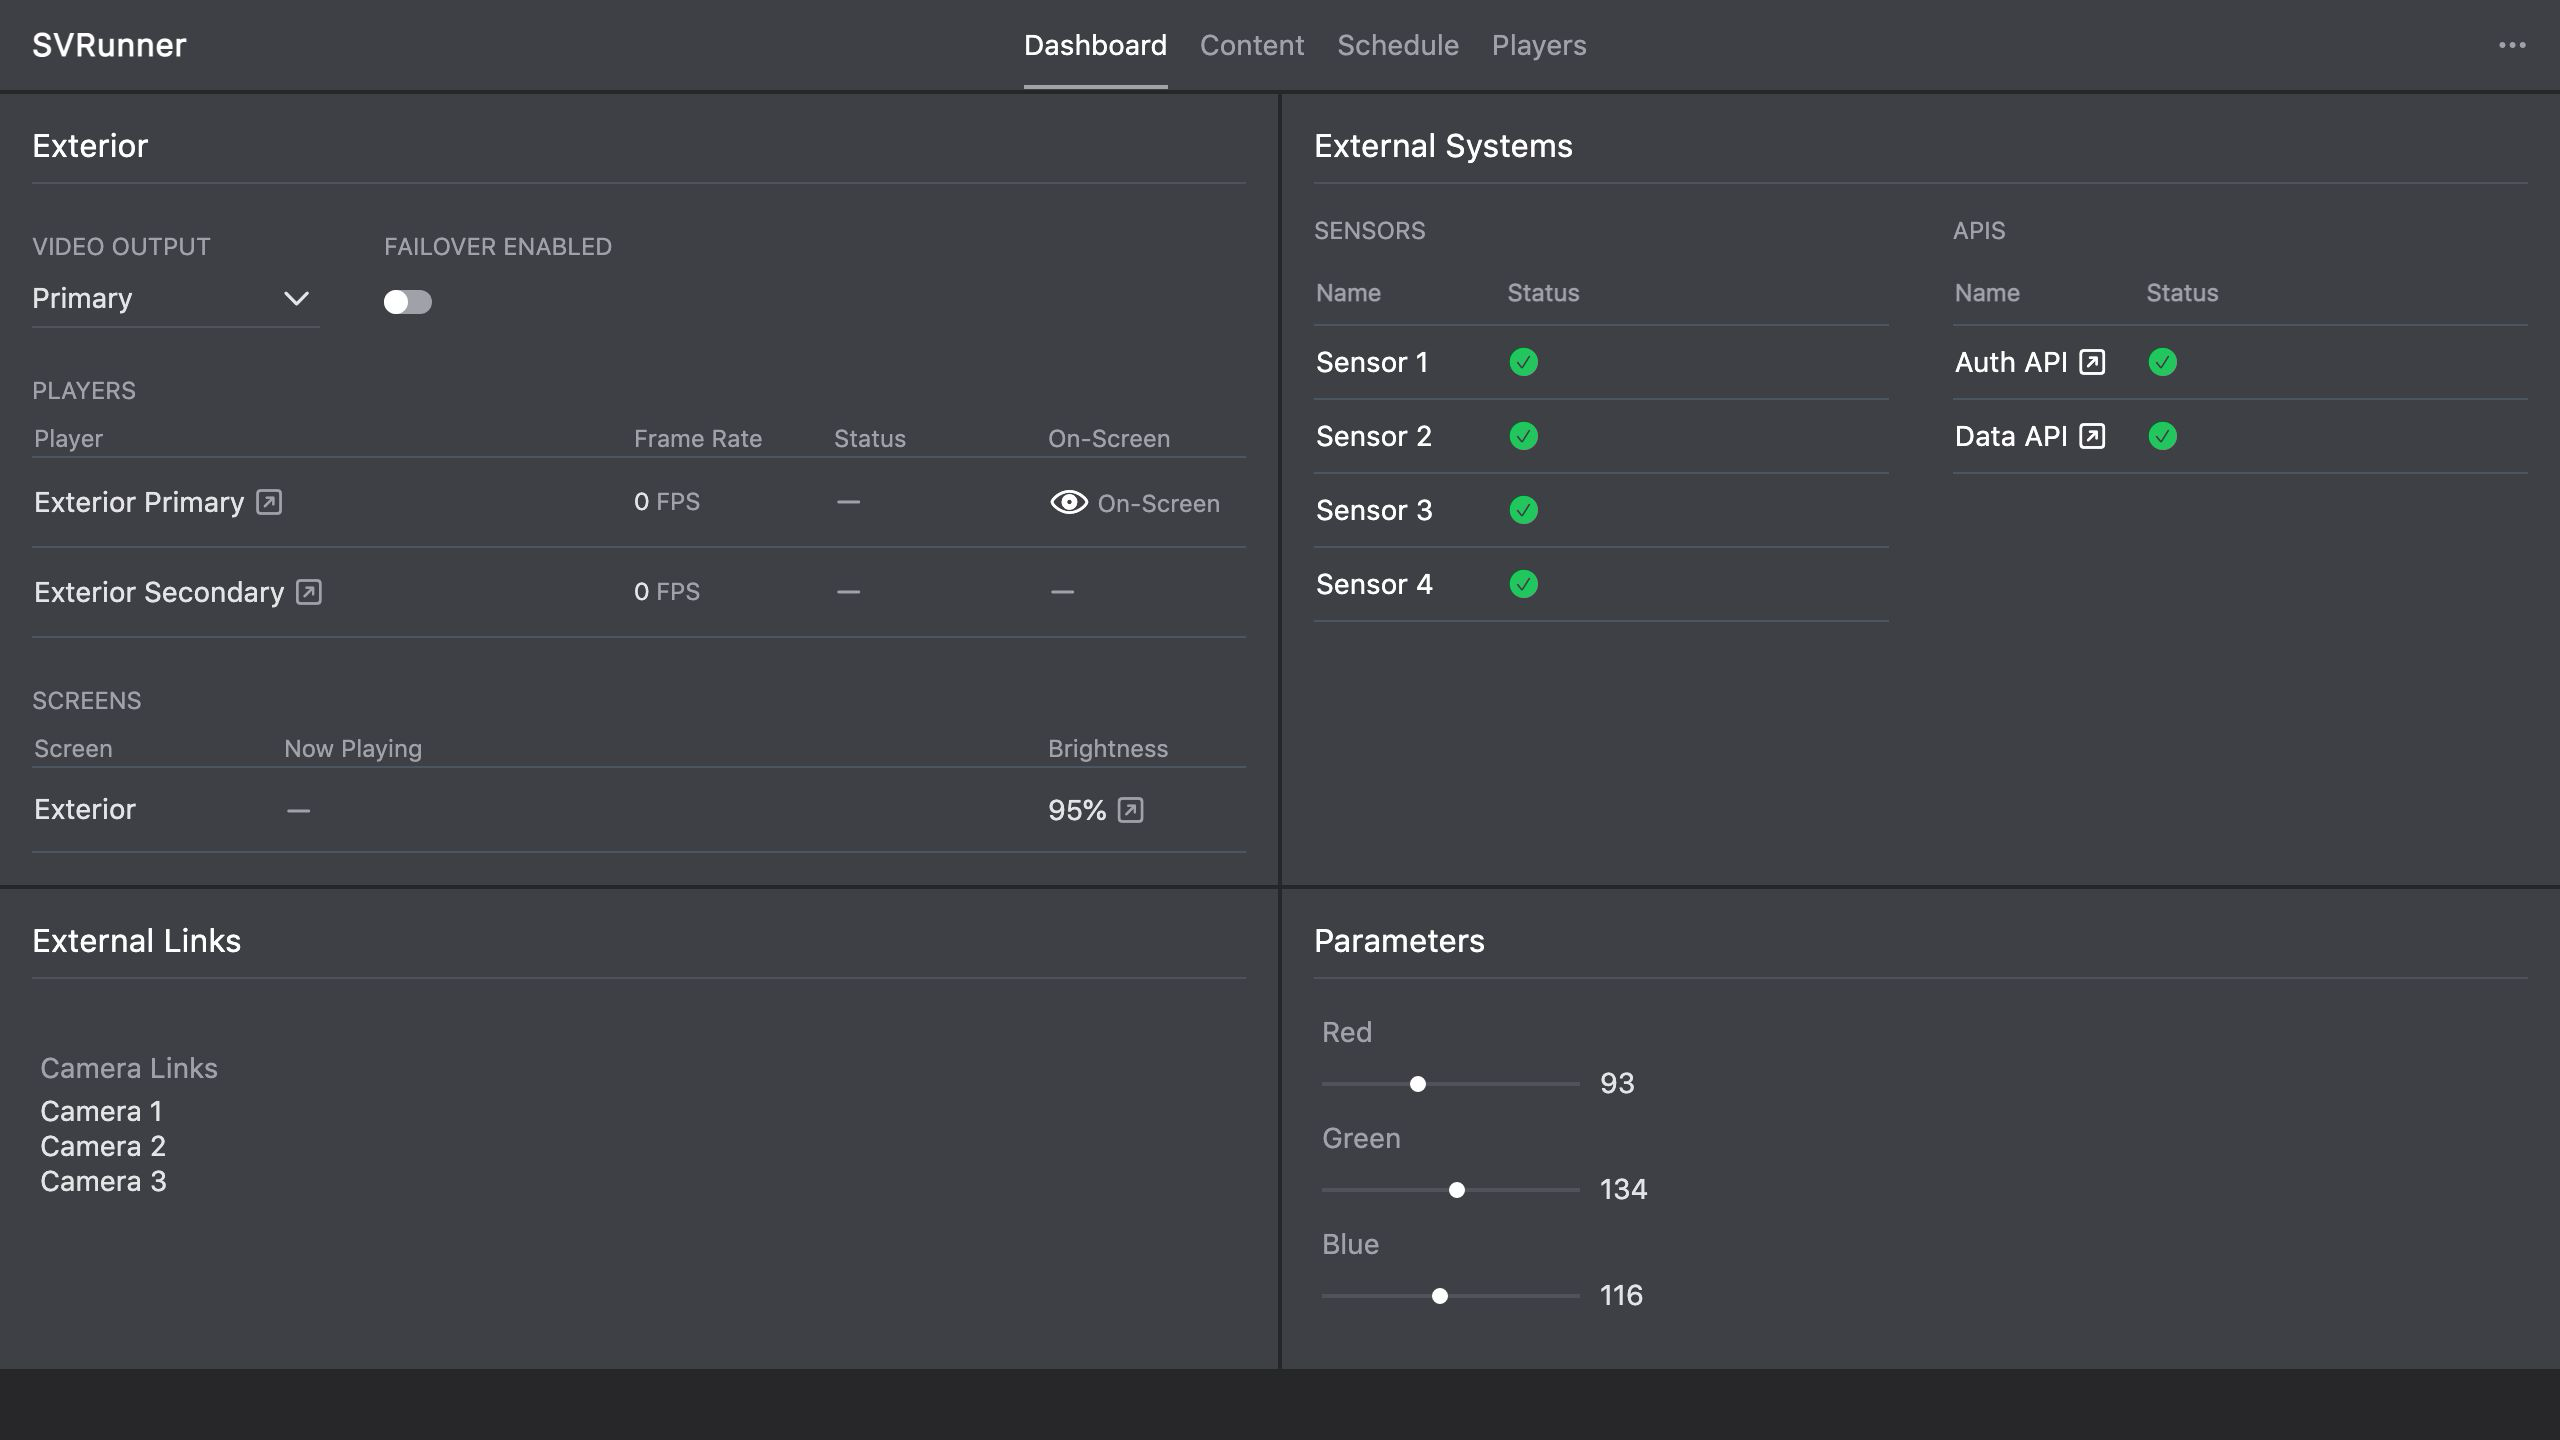
Step 3: Confirm Admin Access
After licensing is in place, confirm that an admin account can reach:
- preferences
- licensing
- users
- extensions
- systems
- API access if needed
 Stub screenshot: first-login flow through license confirmation and the initial admin-only menu areas visible after successful setup. Save final image at
 packages/docs/screenshots/installation-initial-setup-admin-access.png.
If the deployment will be handed to operators, make sure at least one trusted admin account is known and documented.
Step 4: Create Users
Create the initial users required for the site.
Recommended minimum setup:
- one admin account for system management
- one operator account for routine scheduling work if the deployment uses separate roles
Use naming and credential practices that match the site's operational policies.
Step 5: Review Project Preferences
Before content is created at scale, review the project defaults.
Important first-pass settings include:
- default event occurrence type
- default asset and asset-block extensions
- whether file assets are allowed
- default image duration
- default latitude and longitude for sunphase logic
- default screen selection behavior for new events
These defaults will shape the operator experience immediately.
Step 6: Configure Display Topology
Set up the initial playback topology.
This usually includes:
- players
- screens
- targets or canvases
- outputs and failover settings if applicable
Use real-world names that match the physical site so operators can identify them easily later.
Step 7: Validate The Path End To End
Before handoff, run a small functional check:
- create or upload a test asset
- create a simple event for one screen
- publish the event
- use preview to confirm the generated playlist
- confirm the expected player and screen state in the dashboard
This confirms that the system is not only installed, but actually usable.
Handoff Recommendations
Record the following before handoff:
- admin contact and credentials policy
- server address and port
- backup procedure
- naming conventions for players and screens
- any non-default preferences or extension rules